Home > Demo Guides > Horizon Cloud
Horizon Cloud on Microsoft Azure Next-Gen - Universal Console
In this quick walkthrough we're going show you how to access and navigate the Horizon Cloud on Microsoft Azure Universal Console.
Overview
- Access Omnissa Connect Services from the TestDrive Portal.
- Navigate to the Horizon Cloud console.
- Expand each section and explore menus.
- Search a user and the assigned VM information.
- View Inventory for applications, virtual machines, and image publishing.
Before You Begin
In order to access the Horizon Cloud Next-Gen environment, please ensure you have the following:
- A valid account in the Omnissa TestDrive environment, sign up here if you do not yet have an account.
- A valid Omnissa Connect account on https://connect.omnissa.com, sign up for a new account if you do not have one yet. Your email address for this Omnissa Connect account must be the same as the email address associated with your TestDrive account.
TestDrive Portal Login
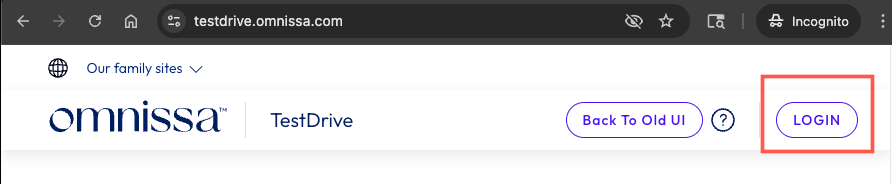
Open a new incognito browser window and navigate to the TestDrive Portal at testdrive.omnissa.com.
Log into the TestDrive portal with your Omnissa Connect Account as prompted.
Enable Horizon Cloud Service Product Tile
BEFORE YOU ENABLE Horizon Cloud Service from the TestDrive Portal, you must have your own Omnissa Connect account on https://connect.omnissa.com before proceeding with the next steps. This account is completely separate from your TestDrive account, but needs to be registered with the same email address you registered with TestDrive.
Please ensure you are able to login to your Omnissa Connect account on https://connect.omnissa.com.
If you do not have an Omnissa Connect account, please create your account and ensure you are able to login, then proceed with the next steps in this guide.
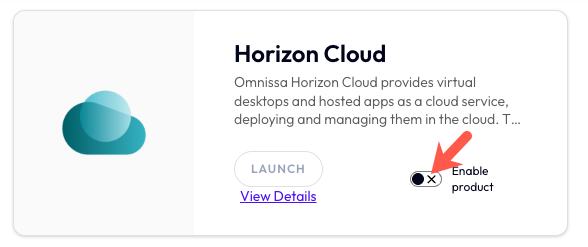
While logged in to the TestDrive Portal, under DemoZone, find the Horizon Cloud tile and then click the Enable Product button.
Enabling Status
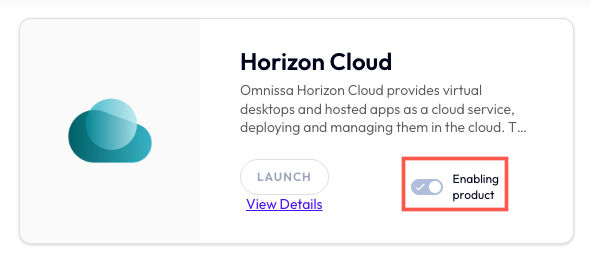
Allow a few minutes for the product to be enabled. During this time, your Omnissa Connect account is being added to the cloud organization for the TestDrive environment.
After a few minutes, you will receive an email from Omnissa Connect (noreply@omnissa.com) with subject "Organization Access" which confirms your roles have been added.
NOTE: Your Omnissa Connect account will be active in the organization for 30 days. If you receive an email that your account has been removed from the organization and you still need access, you can re-enable your access in the Horizon Cloud product tile, as mentioned in the previous steps.
View Details in Product Tile
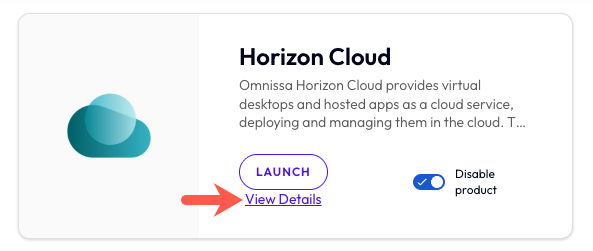
After your Horizon Cloud access has been enabled, click View Details within the product tile.
Launch Universal Console Link
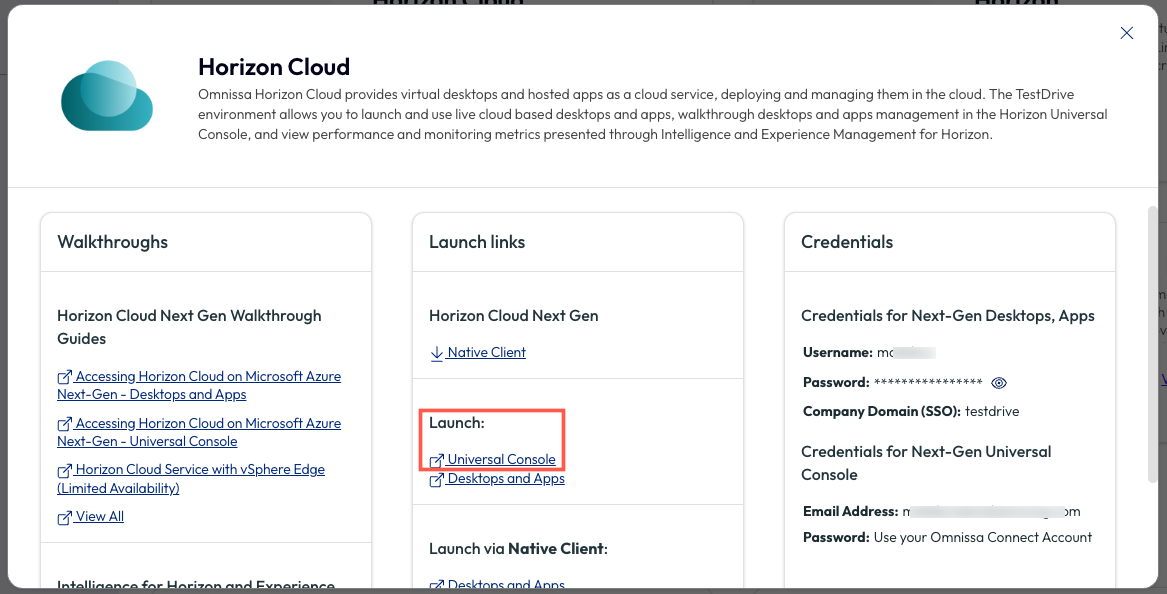
On the pop up menu under Launch, click on Universal Console.
You will be directed to the Omnissa Connect Services Page.
Omnissa Connect Services Page
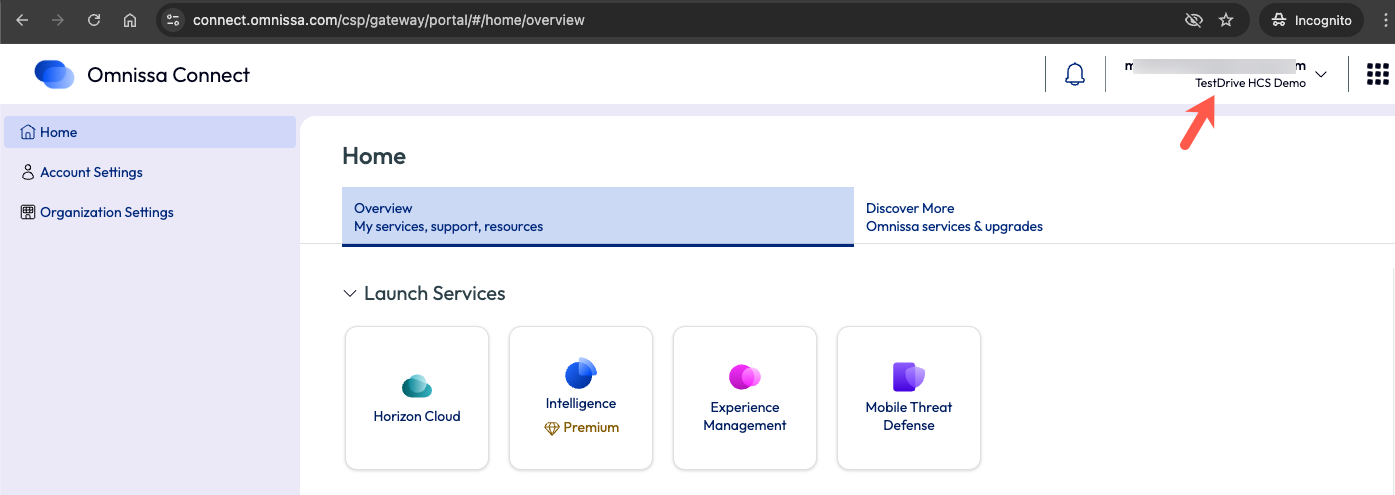
Depending on your Omnissa Connect account, you might have access to multiple Organizations.
For TestDrive Horizon Cloud Next-Gen, make sure you are in the correct organization named "TestDrive HCS Demo".
You can verify this in the upper right corner of the window, below your name. If a different organization name is shown, click on the name and toggle to the correct one.
Horizon Cloud Service
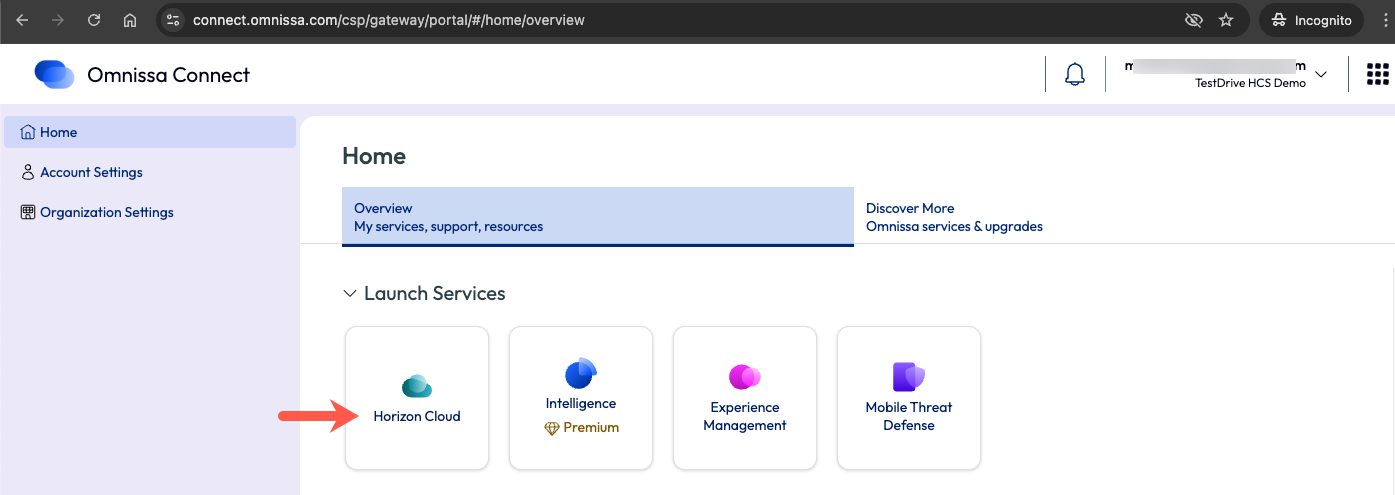
In the right window pane, under Launch Services, find Horizon Cloud and then click on that tile.
Horizon Cloud Console
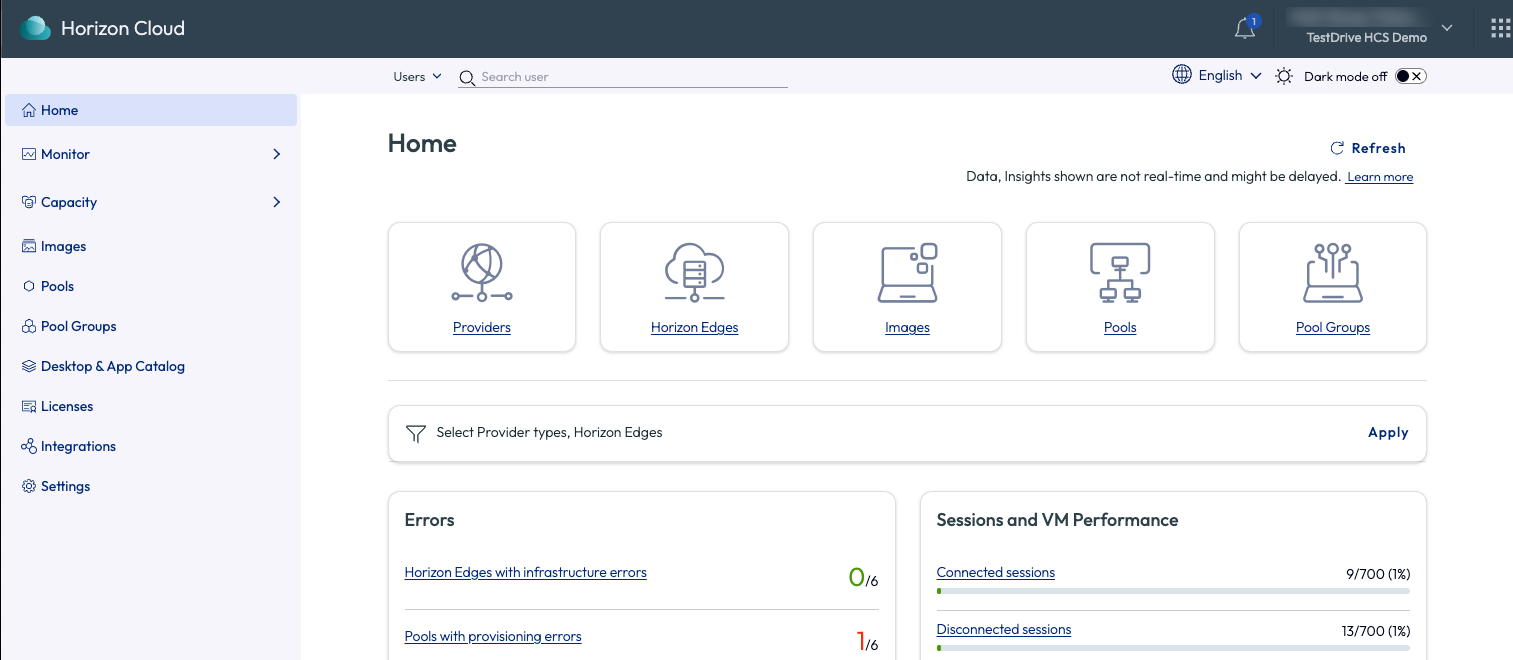
You are now at the Home page of the Horizon Cloud console. This page is divided up into a resources section and dashboards for Errors, Session and VM Performance, and Utilization.
User Search
**Before doing a user search, connect to a desktop or app with your Testdrive credentials following the instructions here: Horizon Cloud on Microsoft Azure Next-Gen - Desktops and Apps***
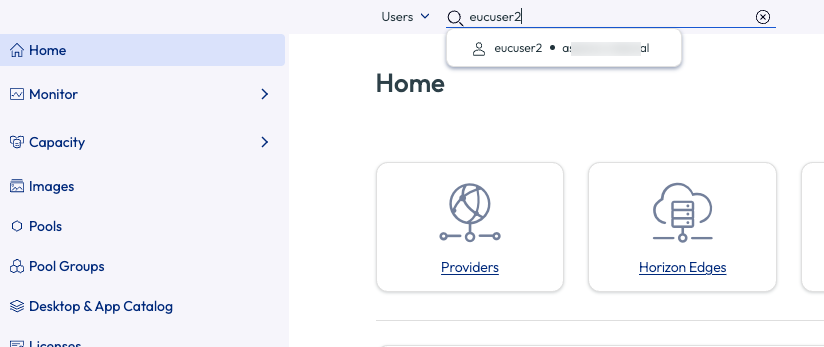
From the Home Page, in the Users search field, type your username. The search results will populate.
Select User and Desktop

Select the user and then under Sessions, click on the computer name.
Desktop Session Summary
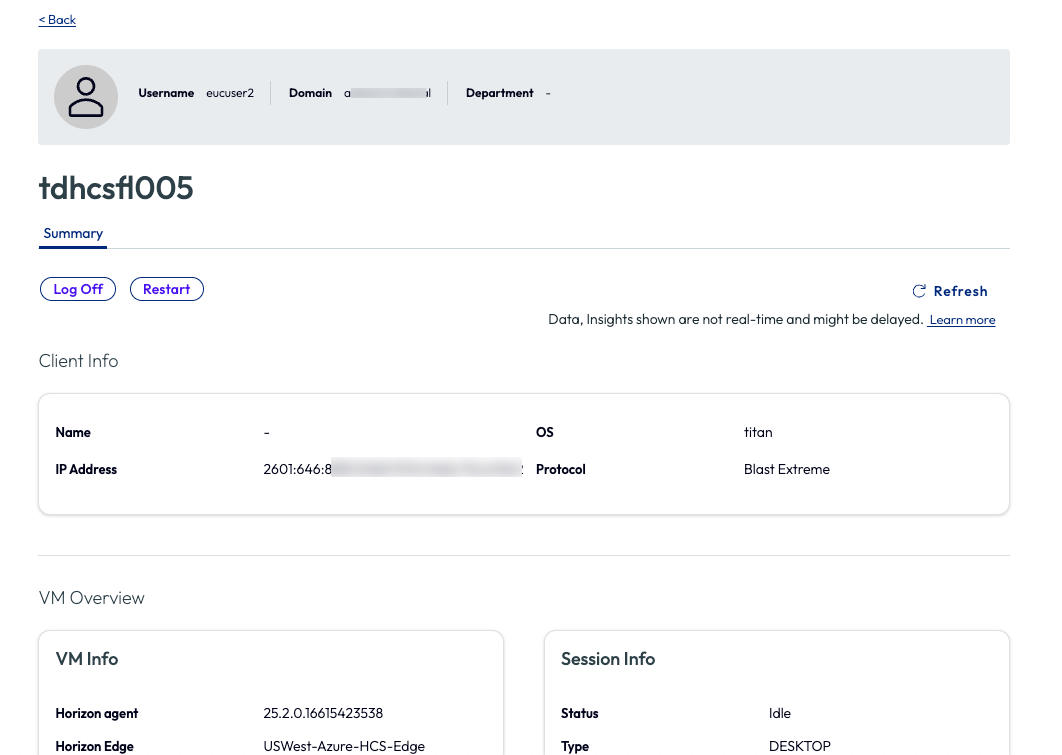
Review the desktop dashboard Summary that is displayed.
Capacity
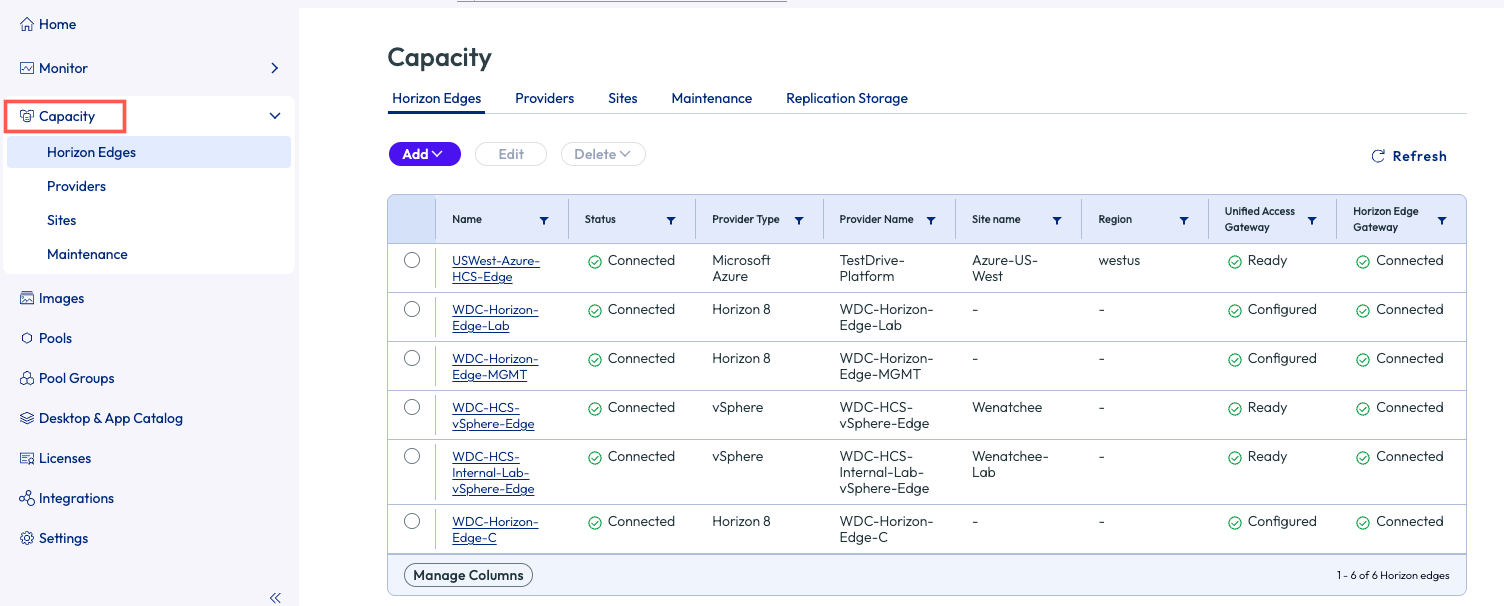
Now lets move on and expand the Capacity menu.
TheCapacitymenu lists theHorizon Edges, Providers, Sites and Maintenanceinformation.
Under Horizon Edges, you can see that multiple edges have been deployed for Microsoft Azure, Horizon 8, and vSphere cloud deployments.
Images
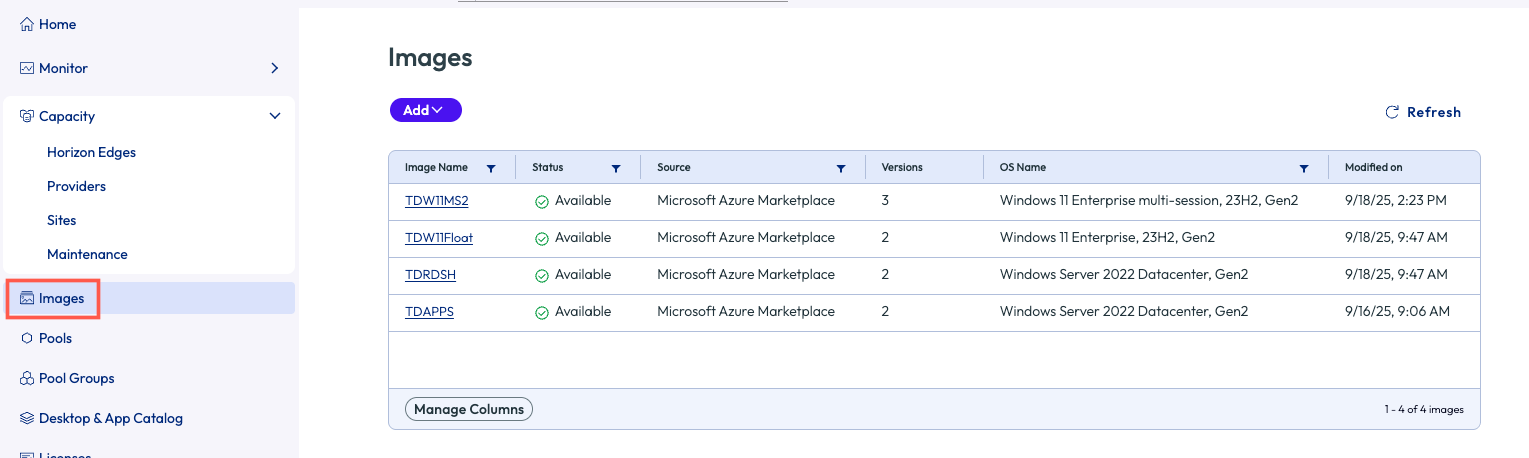
The Images menu is where all images are created and managed.
Pools
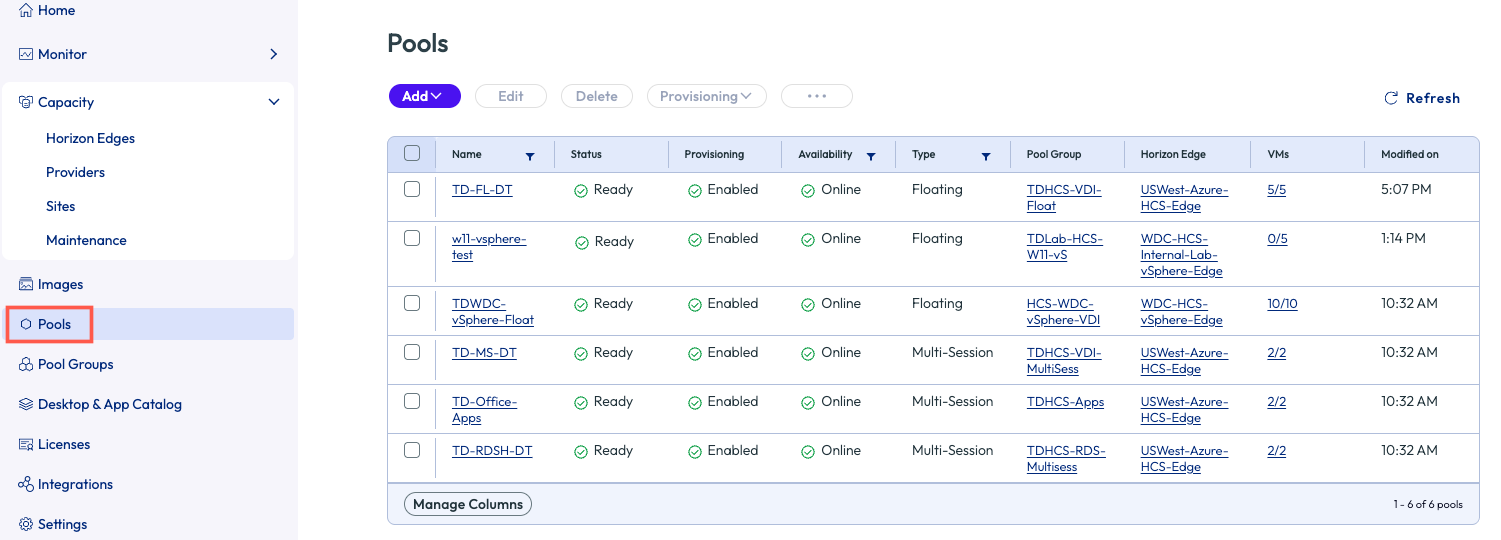
The Pools is where Desktop and Application Pool resources are created and managed.
Pool Groups
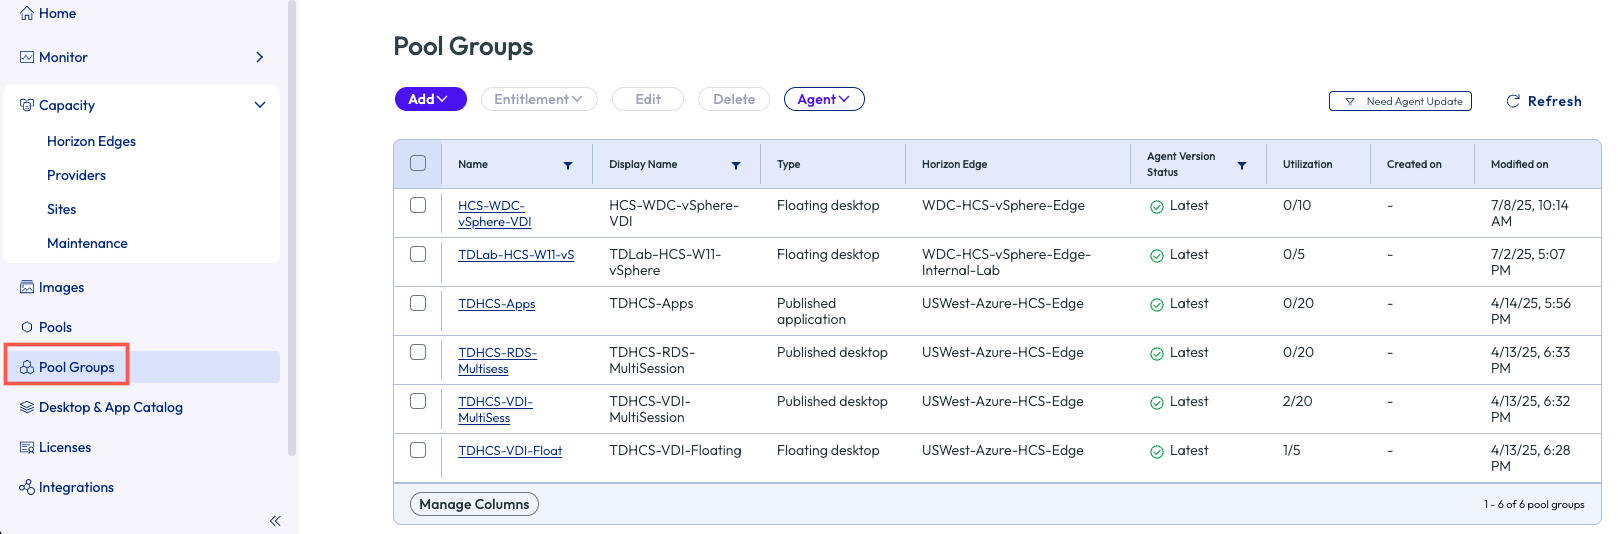
Pool Groups collect together one or more pools. This allows a common set of policies to be applied to the pools that define how users will consume the resources of the pools.
Desktop & App Catalog
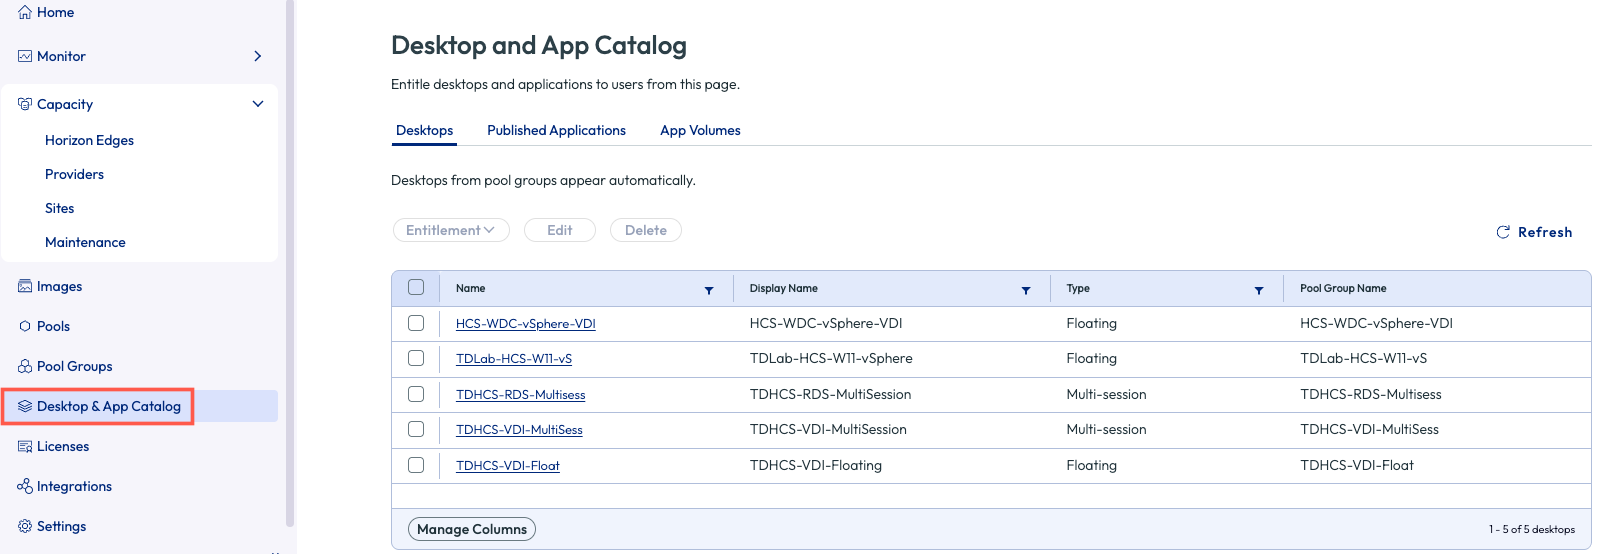
Click on the next section called Desktop & App Catalog, which is broken down into 3 columns, Desktops, Published Applications and App Volumes.
Desktops
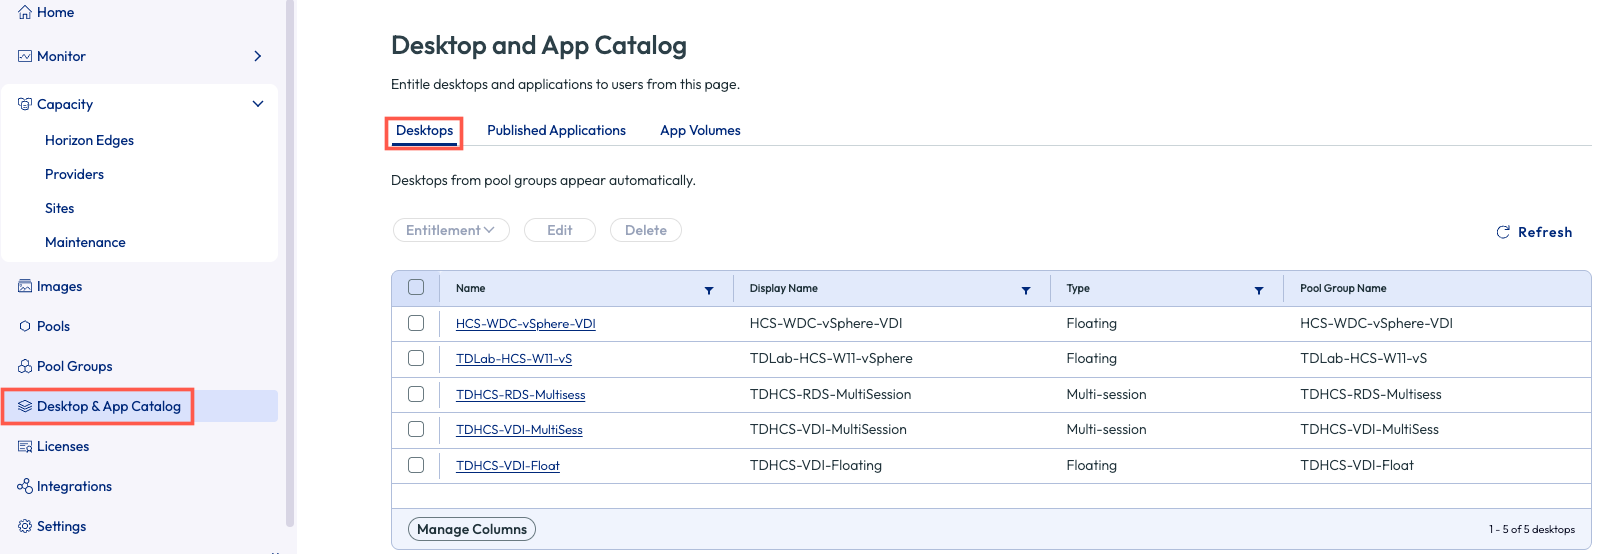
Desktopsis where we can entitle desktops to users.
Published Applications

Published Applications is where we view the settings for all RDSH and VDI Published applications.
App Volumes
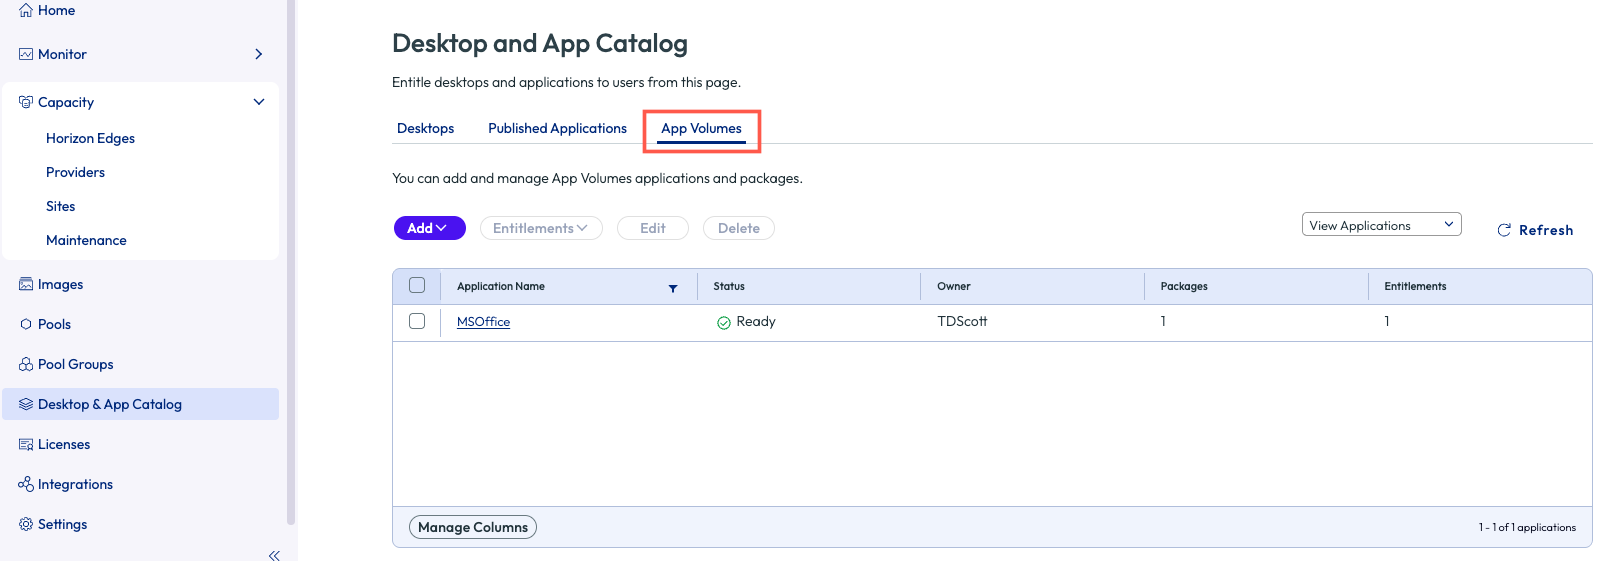
TheApp Volumes column is where applications previously captured and applied are viewed and managed.
Licenses
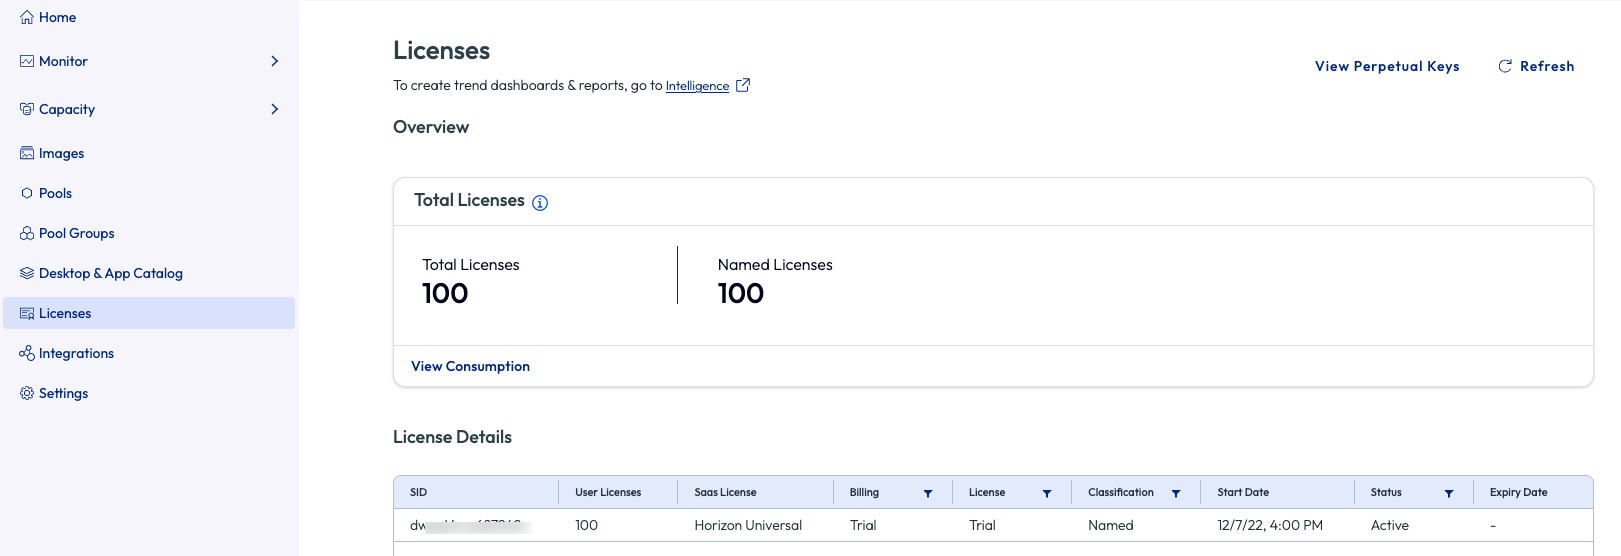
From here we move down to the Licenses menu, to view information about the assigned licenses.
Integrations
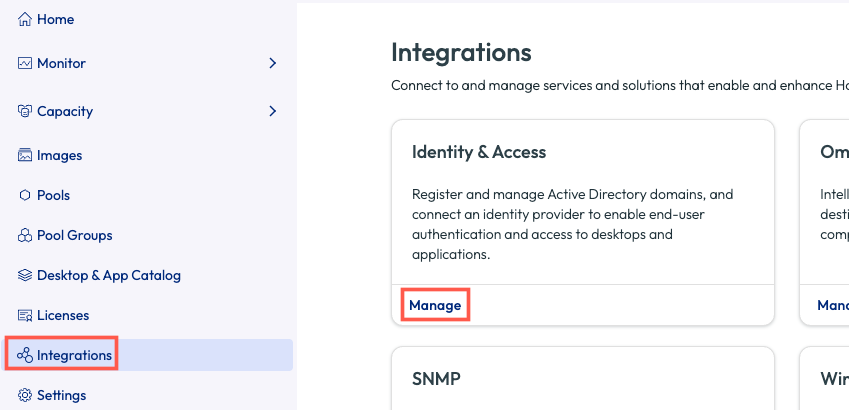
Now click on the Integrations menu, and under Identity & Access select Manage.
Domains
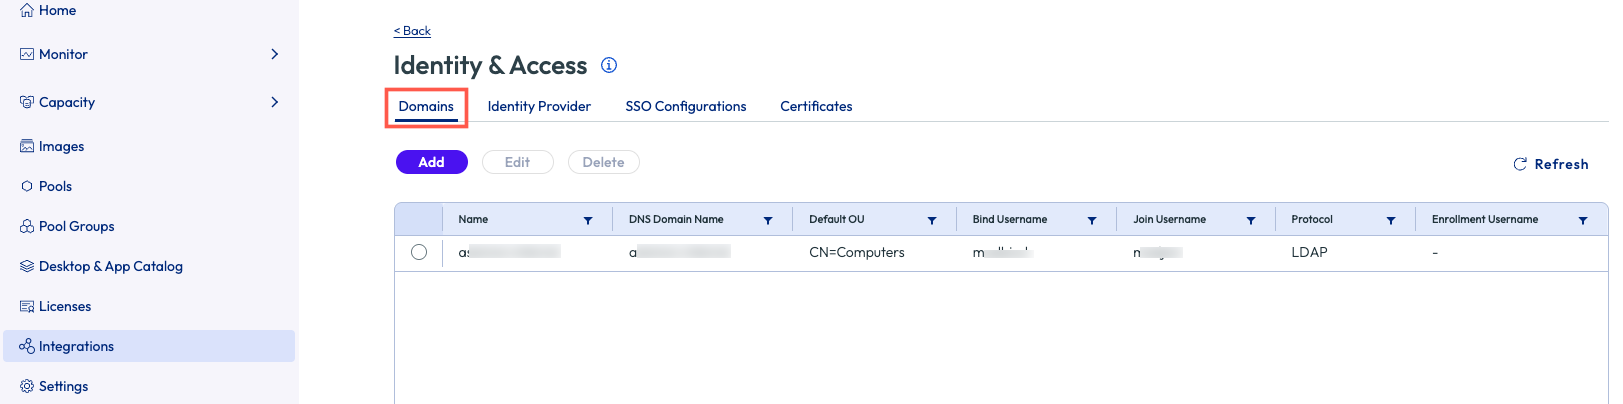
Domains is where the domain authenticating users and machines that are part of the Horizon Cloud Environment are managed.
Identity Provider
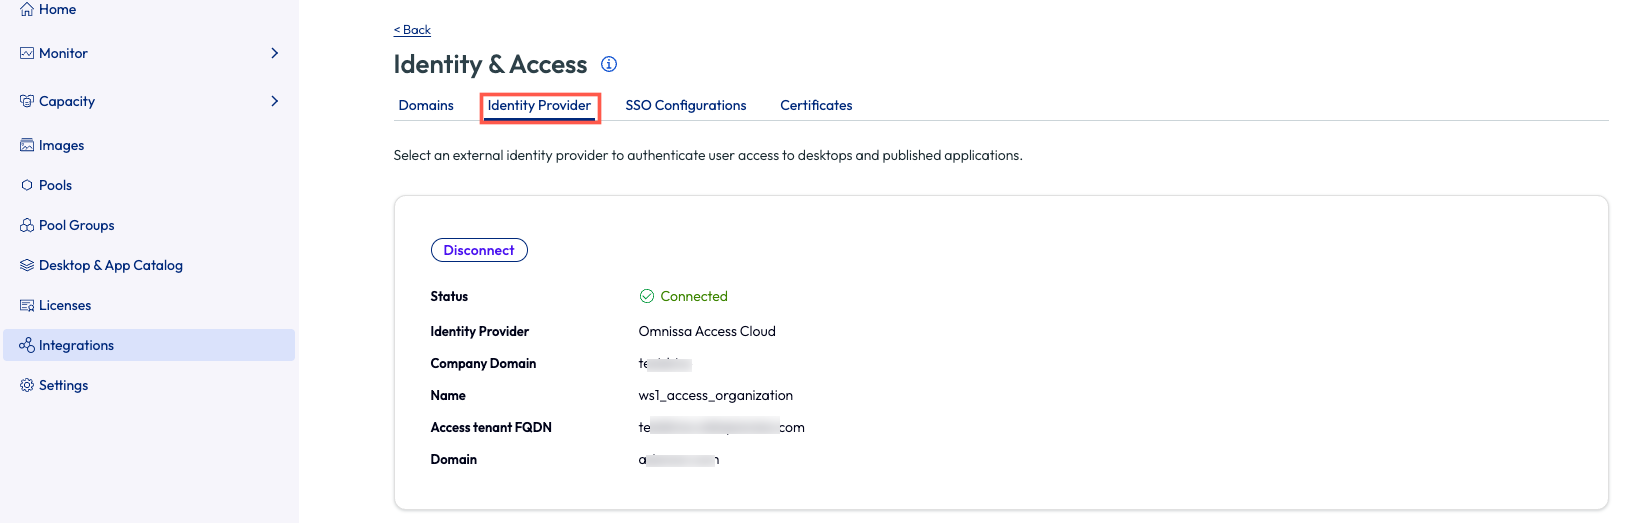
Identity Provider is where the entity responsible for providing Identity and access, (in our case Omnissa Access Cloud) is managed.
SSO Configurations
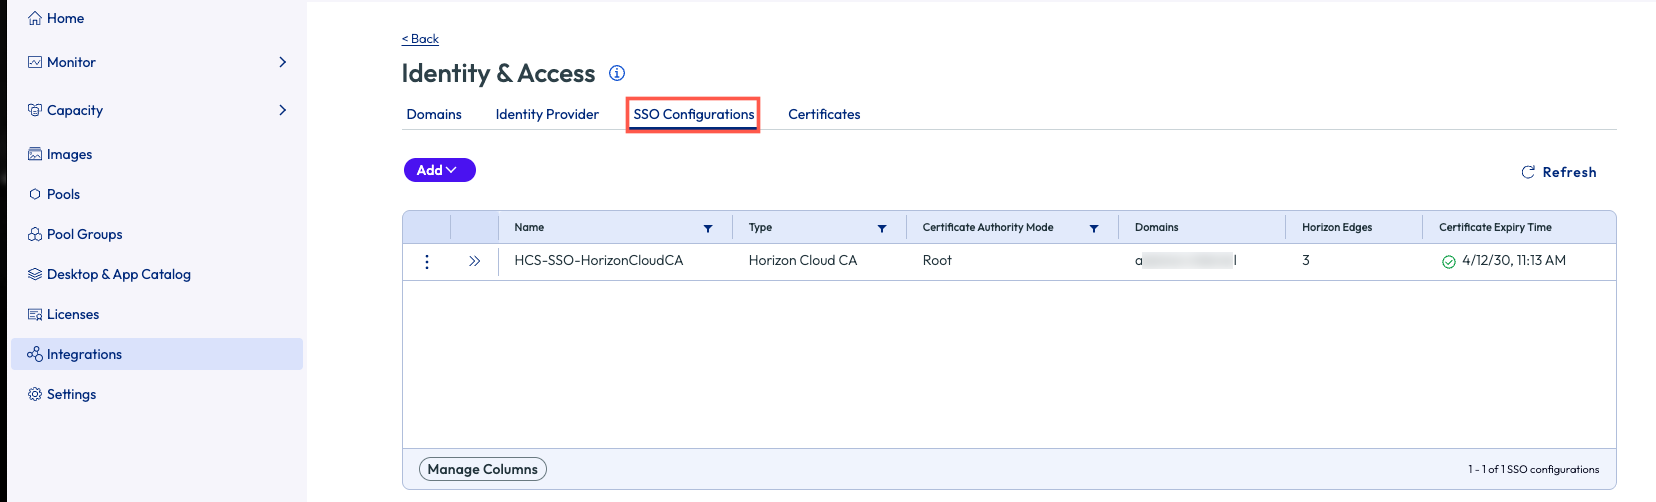
SSO Configurations is where SSO settings are managed.
Settings
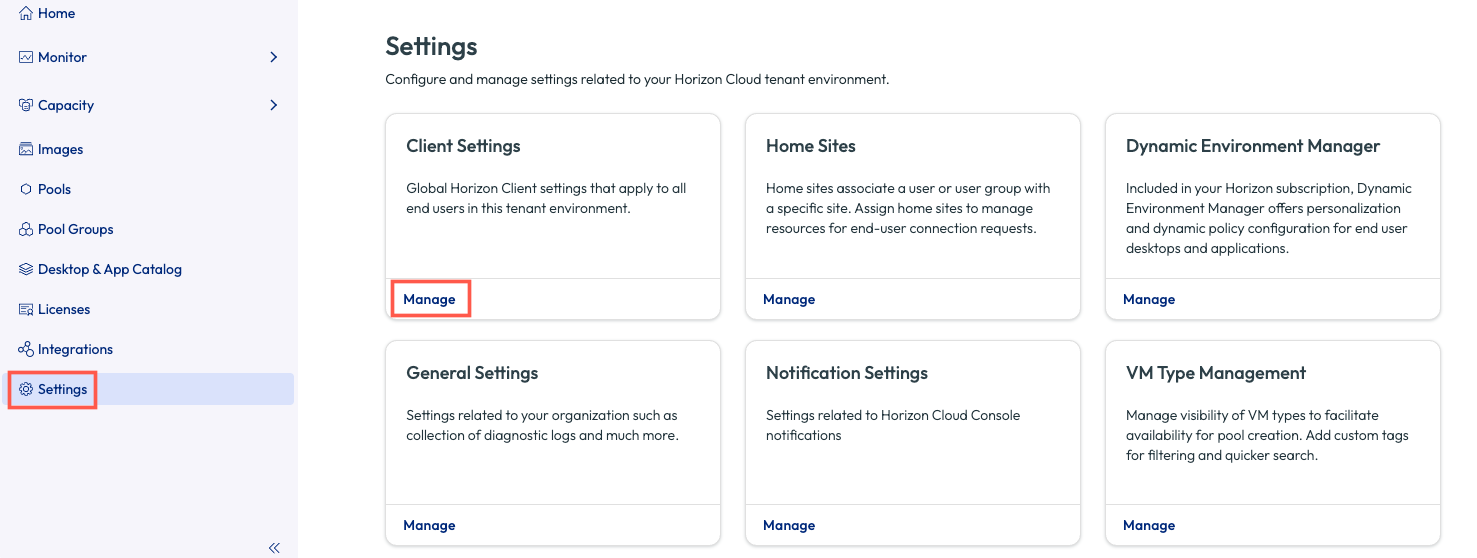
The Settings menu is where we manage various settings such as Client Settings, Home Sitesand Dynamic Environment Manager configurations.
Under Client Settings, click on Manage.
Client Settings
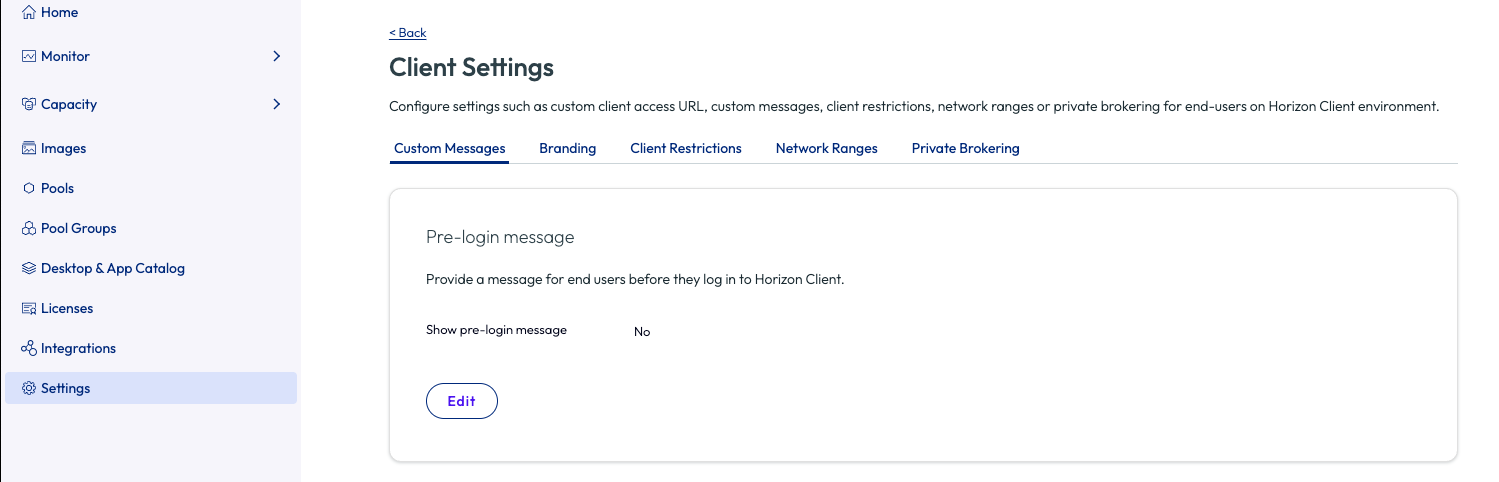
Client Settings are managed from here.
Home Sites
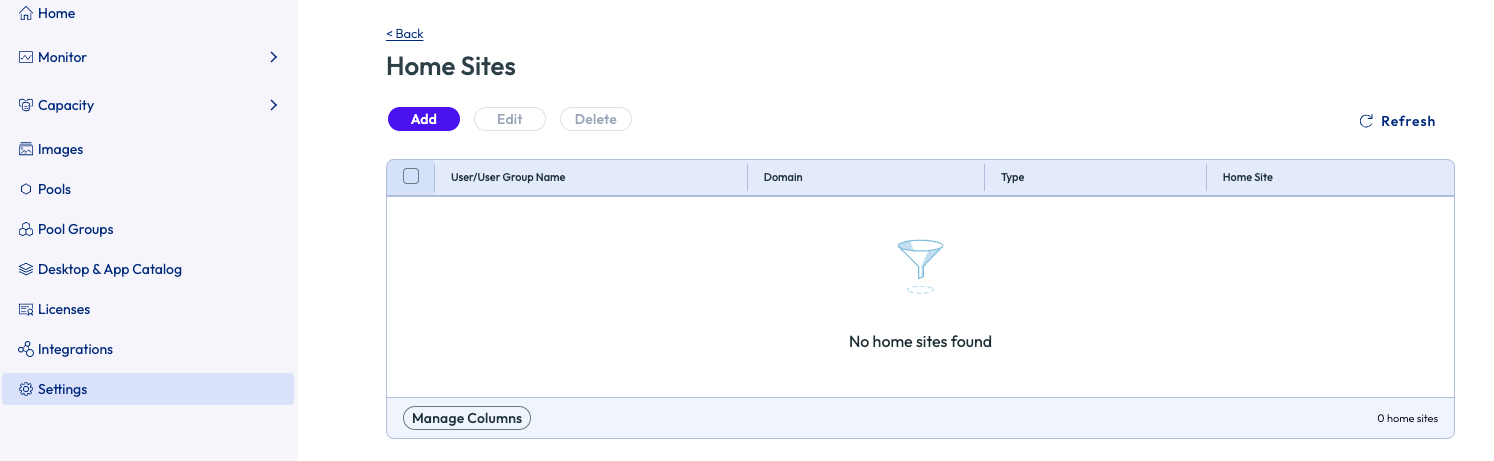
Go back to the main Settings page and under Home Sites, click on Manage.
The Home Sites are managed here.
Dynamic Environment Manager
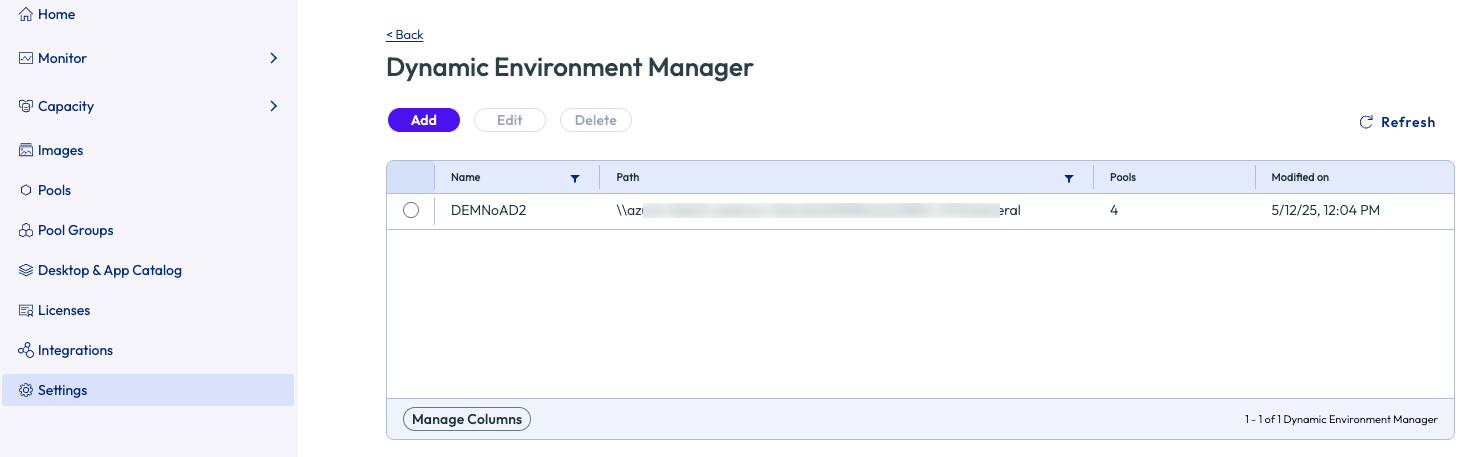
Go back to the main Settings page and under Dynamic Environment Manager, click on Manage.
Dynamic Environment Manager configurations are managed from here.
This concludes the overview of the Horizon Cloud on Microsoft Azure Next Gen Universal Console in TestDrive.